Nova Scotia - part 5
(sightseeing)
July 18, 2018 - July 29, 2018
Very short drive from Lunenburg to Graves Island Provincial Park in Chester, Nova Scotia but it put us in a better position to see the Ross Farm Museum in New Ross, Nova Scotia. This was an especially fun day for a number of reasons. This is a working farm and people are employed here to demonstrate farm life from the mid 1800's wearing period clothing and using traditional tools and equipment from that time period.
 |
| A portion of the vegetable garden. In the distance you might be able to see 3 people who are hoeing weeds. |
 |
Laura makes nice with a team of oxen.
The team is yoked together with a head yoke that fastens a wood beam to their horns with a leather strap.
Despite their looks, the farmer who worked with the team said oxen are very docile and easy to manage. |
 |
One of the farm workers leads the oxen and a cart full of stones past one of the
barns and down the road to a site where some repair work is being done. |
 |
| One of the farm workers cuts hay with a team of horses and an old mower. |
They have a nice display of antique farm equipment in one of the barns. Most of the items we've seen before but the following items were a first.

 |
| Picture of a grain cradle in use. |
 |
Hopefully you can distinguish the grain cradle from the other equipment in this picture.
Looks like back breaking work to me. |
 |
| I remember learning about the McCormick Reaper at some point in my K-12 education! |
 |
I think this is pretty ingenious. There are 4 windmill like paddles that rake up the stalks of whatever is being cut onto the platform behind the cutting blades then off the platform into a row behind the reaper. The paddles rise up as they pass by the farmer sitting on the seat to the right, then come down again as they come into position to rake the stalks onto the platform.
How cool is that! |
 |
| In the wood shop we saw lots of familiar tools. |
 |
They make items for the farm as well as other interesting items.
Here they have wood which will eventually be the start of a snowshoe, bent into a jig which will hold it until it will retain it's shape. |
 |
| This is a small finished toboggan and another one in process. It's being bent around a jig until it will retain it's shape. |
In this video, Mathew demonstrates using a foot vise to hold a piece of wood while he works on it with a drawing knife.
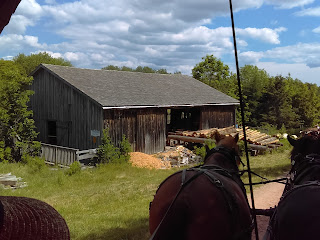 |
| View of the stave mill. The logs in the big pile go in the door and ... |
 |
| ...come out as barrel staves for the coopers shop. |
 |
This is Chris one of the the fellows who makes the barrels on the farm.
He was so patient in explaining the tools he uses and the barrel making process to us. |
 |
First you put the staves inside a ring that holds them upright and tight together at the bottom.
Next you place a rope around the top edge. |
 |
| The rope is attached to mechanism which allows the cooper to pull the staves together enough to slip a metal band over them. |
 |
| Next you slip the barrel over a special wood stove designed to heat the inside of the barrel so that the staves will bend more easily. Once heated the rope is placed around top of the barrel again and the staves pulled tightly together. A metal ring is then placed around the top to hold the staves in place. |
 |
| Two wood stoves designed to heat the inside of a barrel. |
 |
The barrel is placed in a barrel jack and clamped in place in order to hold it firmly
while the cooper finishes the top so it will hold the end securely.
(I think "jack" is the correct term however I could not find anything by this name on google so it may be the incorrect word.) |
 |
| Split saplings that will be used as barrel hoops. |
 |
| This is a cutter used to make a notches in the sapling which interlock to hold the resulting hoop on place. |
 |
Chris is working on finishing the top of the barrel. It must be tapered with a groove where the lid fits.
You can see how the barrel jack is beneficial in holding the barrel firmly in place
as he works the special plane around the circumference of the barrel.
You can also see the barrel hoop (made from a split sapling) has been fitted around the barrel but not yet trimmed. |
 |
The coopers here make barrels for other historical venues in addition to selling them in their gift shop.
Chris told us a good cooper would have 3 barrels going at all times and could make 50-60 barrels a day. |
If you've heard all you can stand about coopering you can stop right here but if you're interested in seeing all the various tools it takes to make a barrel from start to finish please continue. I believe I've said before that I've always been interested in how tools are so unique to each trade so I found this display in the stave mill very interesting. I didn't get super clear shots of all the steps and tools but you'll get the idea.
 |
| Coopers Axe - used to cut a rough taper on the staves and for shaping the barrel head. |
 |
| Hollow knife is used to cut a concave surface on the inside of the staves. |
 |
| Backing knife is used to cut a convex surface on the outside of the staves. |
 |
| The jointer plane is used to cut an angle on the stave, and to smooth the edge. The angle determines the degree of bulge on the barrel. |
 |
| The compass is used to find and mark the circumference of the barrel head correctly. |
 |
| Cooper's head saw is used to cut the jointed pieces of the barrel in a circular shape. |
 |
| The heading knive is used to smooth and finish the rough cut bevel around the barrel head. |
 |
| The Howel plane is used to cut a smooth shallow depression near the end of the staves in which the croze plane will be set. |
 |
| The Croze plane is used to cut a small grove on the inside of the staves near the end of the barrel into which the barrel head will fit. |
 |
| The Chamfer knife is used to cut a bevel or chime on the inside of the staves which allows the barrel head to fit into the groove. |
 |
| The sun plane or topping plane is used to level the end of the staves after the chime as been cut. |
 |
The coopers adze is used to cut the chime (bevel) and to hammer down hoops with a hoop driver.
The driver is used by coopers for driving down hoops on barrels. |
 |
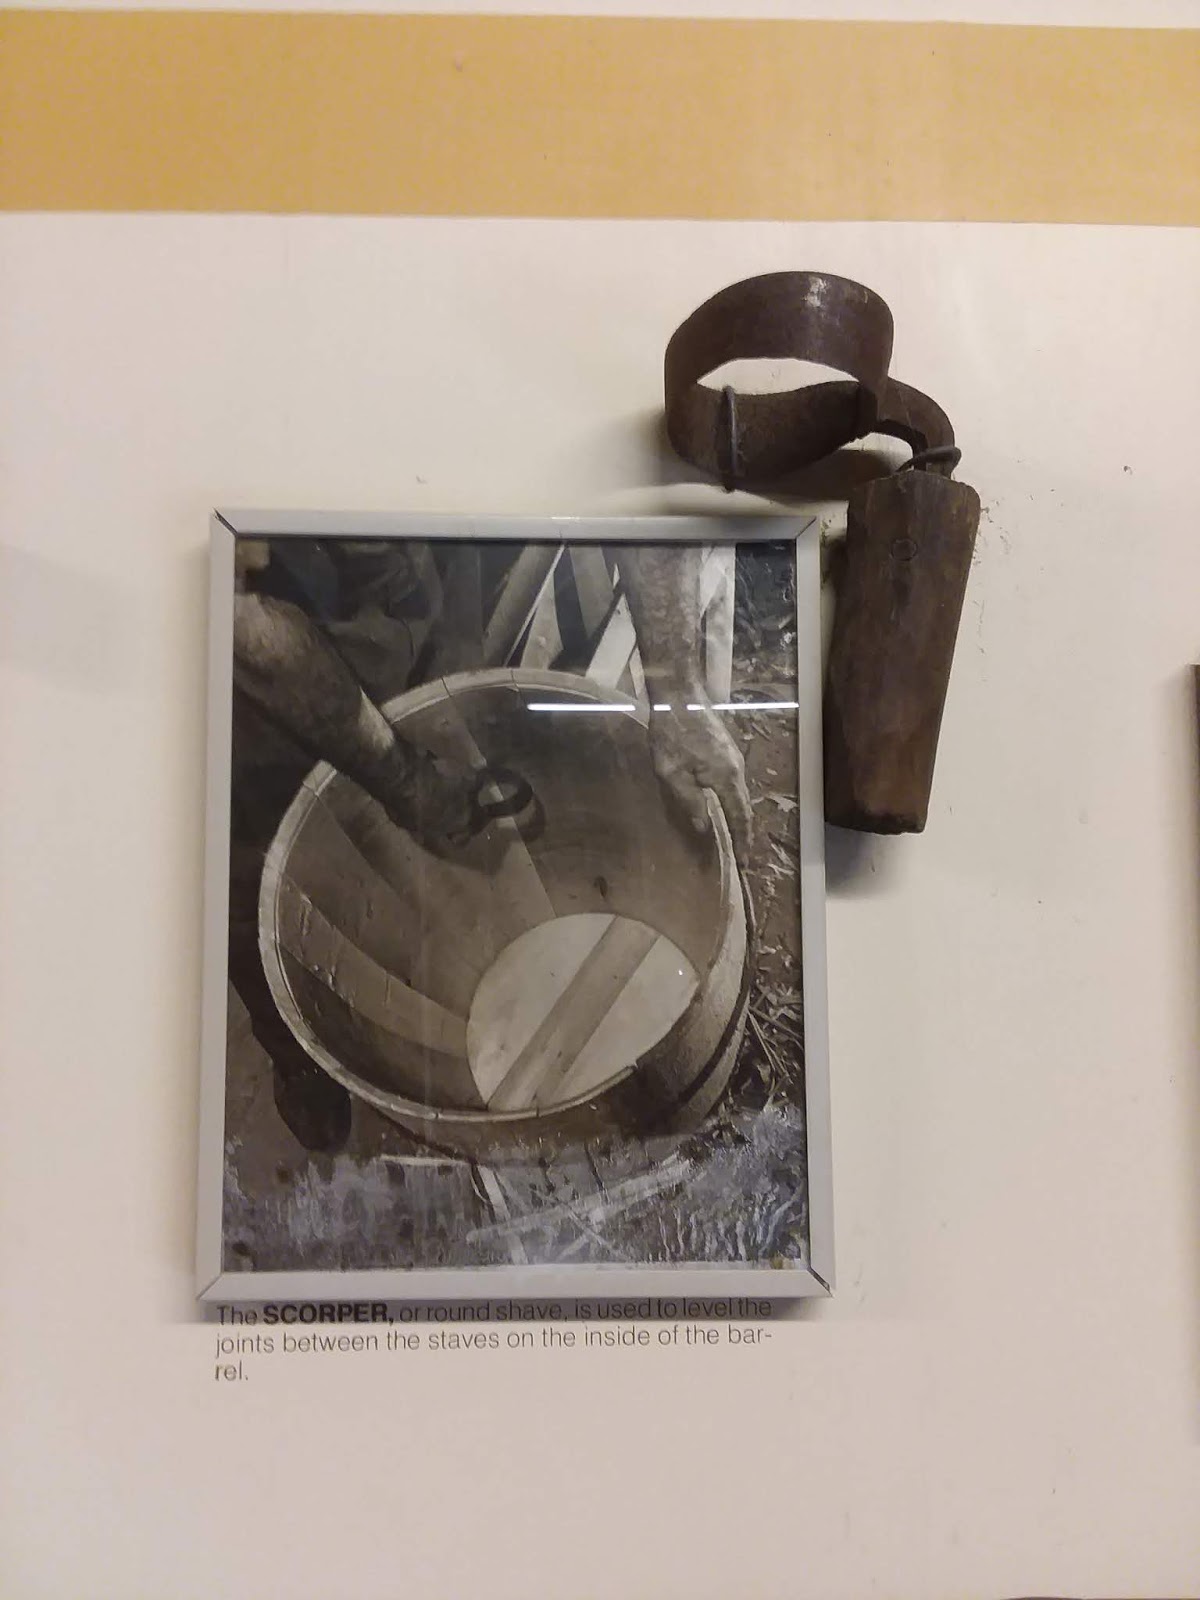
| The scorper, or round shave, is used to level the joints between the staves on the inside of the barrel. |
 |
| The heading vise is used to lift the head into place and hold it there. |
 |
| The down shave is used to smooth down the outside of the barrel staves. |
I don't know about you but I have a much greater appreciation of how barrels are made. They are a lot of work.


No comments:
Post a Comment